Unlike most social networking sites, which have a central hub of computers, we can't give you one specific link and say: sign up here. diaspora* is different from those networks as it is decentralized, with many different points of access. Before getting started, you'll have to decide which diaspora* provider you want to sign up to. We call these providers "pods".
To help you choose which pod is best for you, have a look at our guide to choosing a pod to help you.
You might have received an invitation to diaspora* from someone you know. If so, this contains a link to the diaspora* pod on which the person who invited you is registered. If you want to join to the same pod as them, you can simply follow the link in the mail.
You will always sign in to diaspora* on the same pod with which you registered. From your pod you can connect to the whole network and your experience of diaspora* should be more or less the same no matter which pod you are connecting from. You will not be able to sign in to another pod, but there is no need for you to do this anyway.
Once you have chosen a pod, find the Sign up link. It should be right there on the home page of the pod. If there is no "sign up" link, it might be that this particular pod is not currently accepting new registrations. In this case, you'll need to choose another pod.
When you click the sign-up link you will be presented with a page on which you need to enter a user name, e-mail address and password. Think carefully when choosing your user name as you cannot change this at a later date.
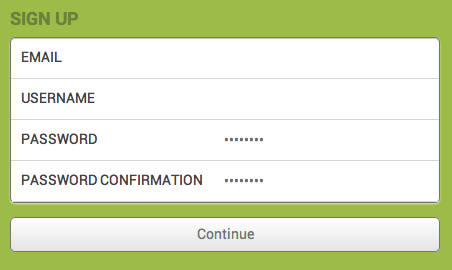
Finish registration by clicking Continue to create and access your brand new account.
During the registration process your account will probably automatically follow an account. This will usually be our diaspora* HQ account, but it may be your pod's admin account. This is so we can keep you up to date with important announcements about diaspora*. If, however, you prefer not to follow this account, you can easily remove it from your contacts. We'll cover how to do this in Part 4.
You should now be presented with a "Getting Started" page. This is not obligatory, but completing it will be an enormous help in starting to making connections with other people.
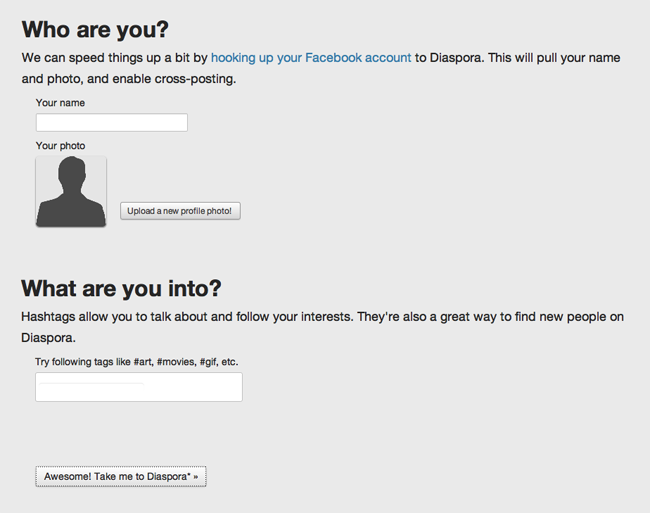
Before you do anything else, take a minute to fill out your profile. On the screen you're taken to, click your name or photo at the right-hand end of the black header bar, and select Profile from the list which drops down. Then click the blue Edit my profile button in the top right corner.
There are two parts to your profile: the public profile and the private profile. Your public profile is visible to everyone; your private profile is only visible to people you have chosen to share with. You can fill out as much or as little of your profile as you like, and you don't have to use your real name if you don't want to.


Most of the profile information fields are self-explanatory. NSFW stands for 'not safe for work'. We'll cover this in Part 7, so don't worry about it now.
Don't forget to click the Update button once you're finished!
You're all set to start using diaspora*! Click the asterisk logo or Stream in the top left of the screen to start.
If you want to meet and be welcomed by the diaspora* community and are feeling confident enough, make a public post now to introduce yourself and include the #newhere tag. Making public posts containing tags is a great way to make new friends on diaspora*. If you're not sure about doing this now, don't worry - we'll take you through your first post step by step in Part 5.